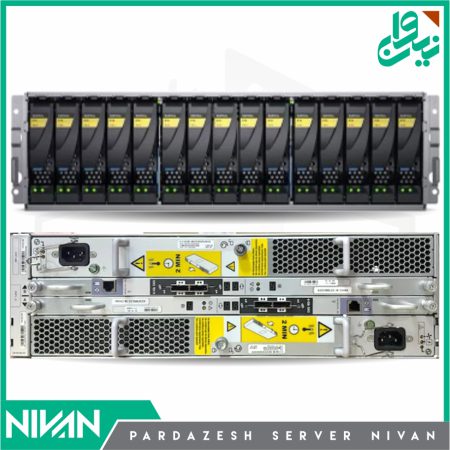
تنظیم مجدد کارخانه (Reset Factory) استوریج EMC VNX Cx3 Cx4
برای ریست فکتوری کردن استوریج های CLARiiON و VNX، این مراحل را دنبال کنید. شما باید یک کامپیوتر را به پورت سرویس COM روی SP متصل کنید .
نکته : روی هر ماژول مدیریت SP یک پورت وجود دارد. برای این کار از یک کابل مودم ( EMC 038-003-084 – EMC Micro-DB9 To Serial Cable (RS232) 7.62m) استفاده کنید.
نرم افزار Hyper Terminal را دانلود نمایید .
چک نمایید در Device Manager در بخش Ports (Com & LPT) کابل شما به عنوان (COM) چند شناسایی شده است .
یک کانکشن جدید در Hyper Terminal ایجاد می نمایید و در بخش Connect Usings Port مورد نظر را انتخاب نمایید و در بخش Configure… Bits per second را روی 115200 قرار دهید و ok نمایید .
سپس در منوی File در بخش Peroperties رفته در تب Settings روی Emulation را روی ANSIW قرار دهید .
Backspace Key Sends را روی Del قرار دهید .
- استوریج را خاموش کرده و از برق جدا نمایید.
- spb را خارج نمایید.
- پورت سریال را به spa 9600/8n1 وصل کنید.
نکته : این کار روی یک آرایه cx4-960 انجام شده است. نسخه ابزار 04.30.000.5.506 ممکن است صفحه نمایش شما متفاوت باشد.
ABCDabcEabcdefFabcdefGabcdefHIabcd ePQabRabcSabcTUa bVabWXY
************************************************************
Extended POST Messages *
************************************************************
اطلاعات: ورود به حالت عملیاتی MCU
EndTime: 03/30/2016 00:39:16
عبارت “recover” را تایپ کنید.تا به حالت منوی اصلی CLARiiON Utility Toolkit وارد شوید .
=============================================
CLARiiON Utility Toolkit Main Menu
=============================================
1) About the Utility Toolkit
2) About this Array
3) Reset Storage Processor
4) Image Repository Sub-Menu
5) Plugin Sub-Menu
6) NVRAM Sub-Menu
7) Enable LAN Service Port
8) Enable Engineering Mode
9) Install Images to Recover OS
10) Save Logs
برای فعال کردن حالت مهندسی عدد ۸ را فشار دهید و رمز عبور را وارد کنید. رمز عبور wombat می باشد .
=============================================
CLARiiON Utility Toolkit Main Menu
=============================================
1) About the Utility Toolkit
2) About this Array
3) Reset Storage Processor
4) Image Repository Sub-Menu
5) Plugin Sub-Menu
6) NVRAM Sub-Menu
7) Enable LAN Service Port
8) Disable Engineering Mode
9) Install Images to Recover OS
10) Install Images to Restore Factory Configuration
11) Invalidate Data Directory
12) Save Logs
نامعتبر کردن دایرکتوری داده گزینه 11 را وارد کنید:
!!! WARNING !!!
Invalidating the Data Directory will PERMANENTLY DESTROY ALL DATA on
all bound LUs. The Data Directory should NEVER be invalidated without
first escalating to the CLARiiON TS-2 technical support center
. Invalidating the Data Directory will permanently destroy information
that defines the configuration of this array. All configuration data,
including defined storage groups, bound luns, and layered software
configuration will be PERMANENTLY DESTROYED by this action.
Invalidating the Data Directory without also re-imaging your array’s
FLARE [tm] Operating Environment partitions will leave your array in
a non-functional state.
Are you sure that you want to invalidate the Data Directory? y/n [n] y
Are you REALLY sure that you want to invalidate the Data Directory? y/n [n] y
Invalidating the Data Directory
..Checking disks for Primary MDDE
Checking Disk 0_0_0…………….Present
Checking Disk 0_0_1…………….Present
Checking Disk 0_0_2…………….Present
Checking Disk 0_0_3…………….Present
Zeroing Primary MDDE……………Done
..Checking disks for Secondary MDDE
Checking Disk 0_0_0…………….Present
Checking Disk 0_0_1…………….Present
Checking Disk 0_0_2…………….Present
Checking Disk 0_0_3…………….Present
Zeroing Secondary MDDE……………Done
…Press the Enter key to continue
Restore the code to the array.
=============================================
CLARiiON Utility Toolkit Main Menu
=============================================
1) About the Utility Toolkit
2) About this Array
3) Reset Storage Processor
4) Image Repository Sub-Menu
5) Plugin Sub-Menu
6) NVRAM Sub-Menu
7) Enable LAN Service Port
8) Disable Engineering Mode
9) Install Images to Recover OS
10) Install Images to Restore Factory Configuration
11) Invalidate Data Directory
12) Save Logs
نصب ایمیجها برای بازیابی تنظیمات کارخانه گزینه 10 را وارد کنید:
=============================================
Install Images with AutoConfig
=============================================
! ! ! W A R N I N G ! ! !
When installing images using AutoConfig functionality, all existing array
!configuration and user data will be PERMANENTLY DESTROYED
.The Peer SP (if any) must be removed or disabled before continuing
Do you wish to continue? y/n [n] y
=============================================
Select Images to Install
=============================================
1) ICA_FLARE_PARTI TION_REGION 04.30.000.5.517
2) Back to the Main Menu
Enter comma separated list of options: 1
=============================================
Select NDU Packages to Install
=============================================
You may transfer images to the ramdisk by opening an FTP Session
/@ftp://clariion1992:clariion1992
Do you wish to continue? y/n [y] y
=============================================
Configure Network Settings for SP A
=============================================
=============================================
Configure Network Settings for SP A
=============================================
Do you wish to configure the network settings for SP A? y/n [y] n
=============================================
Configure Network Settings for SP B
=============================================
=============================================
Configure Network Settings for SP B
=============================================
Do you wish to configure the network settings for SP B? y/n [y] n
=============================================
Automatic Reboot
=============================================
Would you like the SP to automatically reboot after imaging completes? y/n [n] y
=============================================
Confirm Selections
=============================================
: Images to be installed
ICA_FLARE_PARTIT ION_REGION 04.30.000.5.51
: Packages to be installed
The SP will automatically reboot when imaging completes
Is this information correct? y/n [n] y
=============================================
…Checking disk status
=============================================
Disk 0 Present
Disk 1 Present
Disk 2 Present
Disk 3 Present
Disk 4 Present; Data Directory Valid
Disk 5 Not Present
Disk 6 Not Present
Disk 7 Not Present
Disk 8 Not Present
Disk 9 Not Present
Disk 10 Not Present
Disk 11 Not Present
Disk 12 Not Present
Disk 13 Not Present
Disk 14 Not Present
Copying FLARE-04.30.000.5.517.mif to the RAM Disk… Success
Installing ICA_FLARE_PARTI TION_REGION 04.30.000.5.51 7 for fleet_family (Part 1 of 12)
100%..90%..80%..70%..60%..50%..40%..30%..20%..10%..0%
|—-|—-|—-|—-|—-|—-|—-|—-|—-|—-|—-|—-|—-|—-|—-|
*********************************************************
.The COPY operation has completed successfully
Installing ICA_FLARE_PARTI TION_REGION 04.30.000.5.51 7 for fleet_family (Part 2 of 12)
100%..90%..80%..70%..60%..50%..40%..30%..20%..10%..0%
*********************************************************
.The COPY operation has completed successfully
Installing ICA_FLARE_PARTI TION_REGION 04.30.000.5.51 7 for fleet_family (Part 3 of 12)
100%..90%..80%..70%..60%..50%..40%..30%..20%..10%..0%
*********************************************************
.The COPY operation has completed successfully
Installing ICA_FLARE_PARTI TION_REGION 04.30.000.5.51 7 for fleet_family (Part 4 of 12)
100%..90%..80%..70%..60%..50%..40%..30%..20%..10%..0%
*********************************************************
.The COPY operation has completed successfully
Installing ICA_FLARE_PARTI TION_REGION 04.30.000.5.51 7 for fleet_family (Part 5 of 12)
100%..90%..80%..70%..60%..50%..40%..30%..20%..10%..0%
|—-|—-|—-|—-|—-|—-|—-|—-|—-|—-|—-|—-|—-|—-|—-|
*********************************************************
After about 45 minutes you should have a working service processor. Reinsert SPB and allow it to install
.for another 45 minutes. Note there will be multiple reboots for both
سپس Ip SP را زده و از شما می خواهد که User name & Password برای استوریج قرار دهید .
Software Package Block OE must be committed before managingm the system . please committ it with CLS command .
naviseccli -h <ip> -user <user> -password <password> -scope 0ndu -commit VNX-Block-Operationg-Environment
لطفا به محتوای ما امتیاز بدهید
 psnivan.com
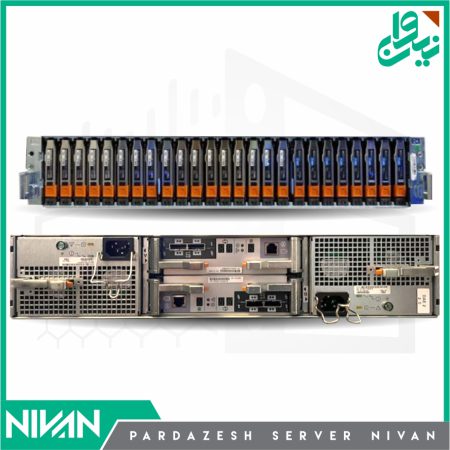 psnivan.com
 psnivan.com
 psnivan.com
 psnivan.com
 psnivan.com
 psnivan.com
 psnivan.com
 psnivan.com